When I make a big quilt that will be used and washed over and over, I make the usual double binding to go around the whole thing. I want the edges to last and not wear out with time and use.
But when making small things, like wall hangings, I find that making my binding from the backing piece is easier and quicker.
Two things have to be pretty accurate: The size of your batting and the size of your backing, with each being larger than the front of your quilt piece.
When you are pinning your batting and backing to the front piece, you need the batting to be at least 1 inch larger all around and the backing needs to be at least 2 1/2 inches all around.
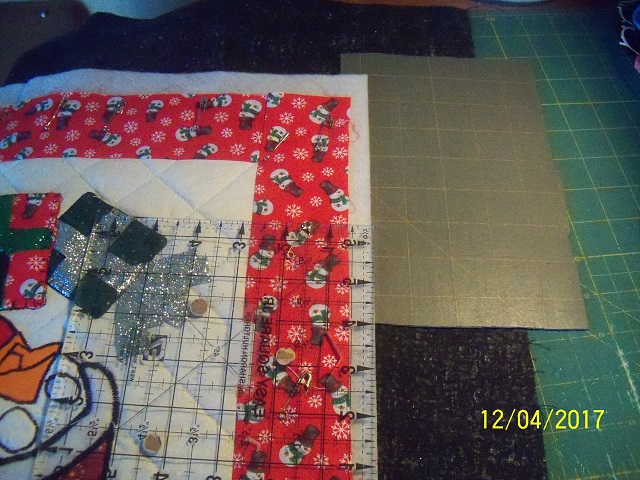
First you have to trim your batting. Be sure you have a cutting mat between your quilt's edge and the backing fabric beneath. You don't want to be cutting off your backing.
Measure and trim your batting to 1/2 inch from the edge of your front piece.
Be sure to trim all four sides the same.
The next step is trimming the backing to 2 inches from the edge of the front piece. These measurements will give you a 3/4" binding when finished or you can tighten it up to make a narrower binding.
If you want an accurate quarter inch binding, trim your batting to a quarter inch and your backing to just shy over an an inch to allow for folding.
Fold two opposite sides down first and sew them so you can get a good mitered angle on the other 2 sides.
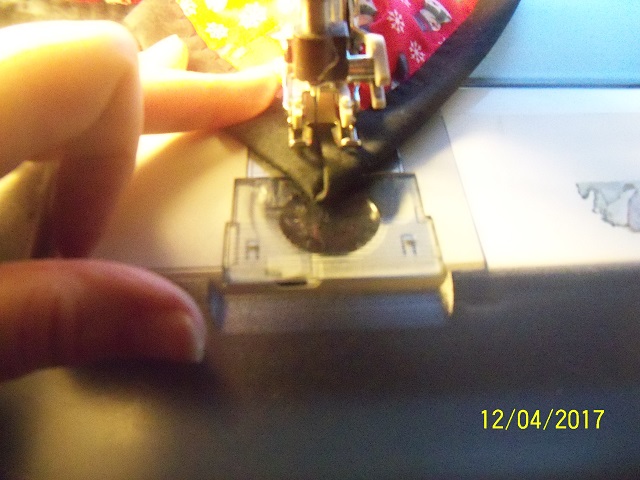
I use a blind hem stitch all around and I Miter my corners and pin them in place to hold them til I get there. Sometimes you need to fudge a bit to get it right but its not difficult.
I even blind hem stitch right up to the very end of the mitered points as seen above.
I find doing the backing for binding method is quicker and easier than going the double binding route. And its fine for things like wall hangings which are not tossed in the washer like quilts are to get them clean.
So don't make things any harder for yourself than needed. Go the easier route.
Have a Good Day.


No comments:
Post a Comment