This method is a good one for a quilt piece that you want to frame or end with a narrow border. It also means not hand stitching down the binding which can take up to several hours on a large quilt.
When you add borders to your piece, be sure to make them at least one inch wider all around than you want for your finished piece. You will need most of that to roll back.
Layer your quilt piece with batting and backing, being sure both pieces are at least a half inch wider all around.
Bottom layer is the backing fabric, wrong side up.
Middle layer is the batting cut a bit larger than the finished top.
Top layer is the quilt top itself.
Remember to be sure the border/frame of your piece is at least an inch larger than you want to finish.
Press the 3 layers flat, then pin together. Quilt the layers as desired. For this one I just used straight stitching along the 'wooden' frames.
Remove the pins and press the 3 layers flat once again.
Trim away excess on batting and backing layers so they are even with the top piece.
Lift the top piece to expose the even batting and backing. Now measure 3/4" along the outside edges all around and trim away that 3/4" of batting and backing. Do this on all 4 sides.
Lay piece down with backing right side up. Working with your one side first, fold back the excess top edge about half way down on itself, as noted above.
Here's another view. Press that folded bit down evenly end to end. I do the two side pieces first. Pressing gives you a nice creased edge easy to fold over later.
At the center, fold that edge down over the backing so that it extends a little into the backing. Pin in place.
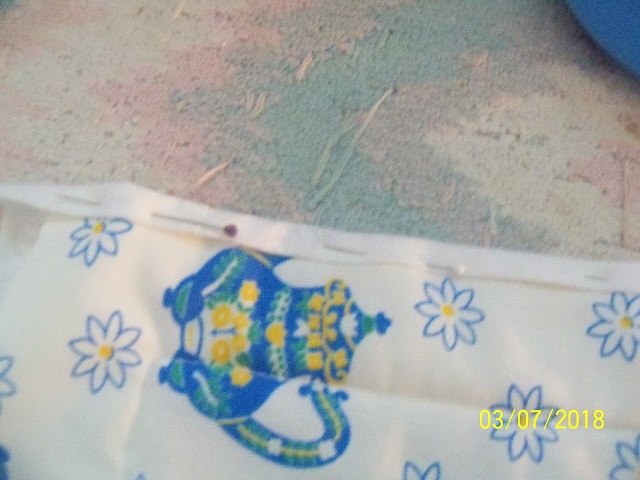
Pin the folded edge down from one end to the other.
Holding and Pinning with the border folded over, sew a straight stitch along the backing's edge.
Sew those first sides down from top edge to top edge. If you want a flat edge, you can just fold it and pin in place. If you want to mitre the edge, you need to fold it differently.
To mitre the edge, fold the corner down at a 45-degree angle to the top of the backing fabric. Press in place with your finger to hold its shape.
Fold down the outside edge once again so that it covers the angled bit. Hold with your thumb.
Fold the outside edge over again and hold in place. You can jiggle it a bit here and there to make it fit exactly. When you have it like you want it, press hard with your fingertips to crease it and pin into place. With enuf pins to hold it securely, sew a straight stitch across the binding close to the backing edge.
Repeat at the other side of the piece by again pinning into place. Do both top and bottom the same as you did the sides. Straight stitch across.
Your finished 'framed' pieces will look something like this above.
My personal thoughts on this procedure.....I like it! Its not difficult and it makes for a fine 'framed' piece when you are finished. The best part, no hand stitching which can be tedious and I can't tell you how many times I've pricked my fingers hand stitching bindings.
Just add your label to the back and you are done, unless you need a hanging sleeve which you want to add before you sew down that last top rollback binding.
I like to add a label made from the backing fabric of my piece. I turn it upside down so the written or printed labeling is clearer, but its the same fabric so in the far future, folks will know that the facts about the piece as written on the label must be true since the label and backing fabric are the same.
Try it. You may like it! Enjoy your day.


No comments:
Post a Comment